So... How Do I Actually Contribute to a Repository?
TLDR
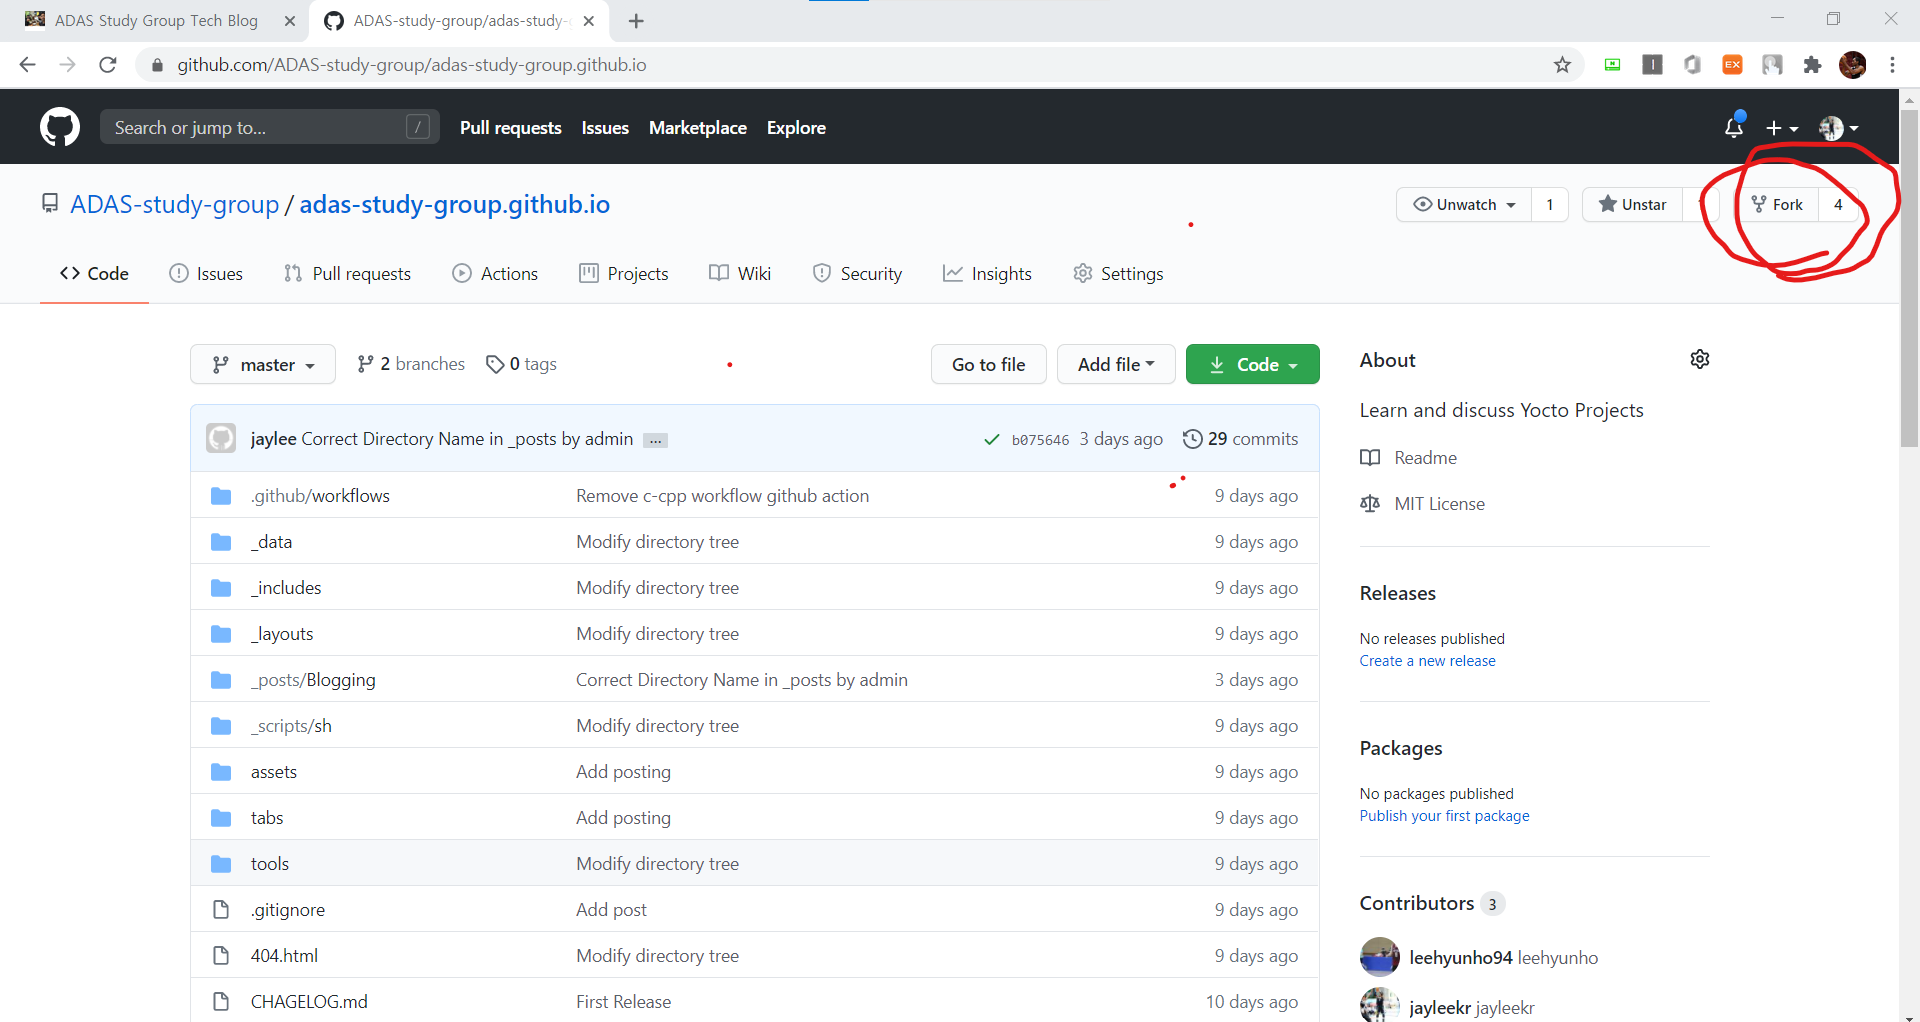
1. Fork the repo to your account
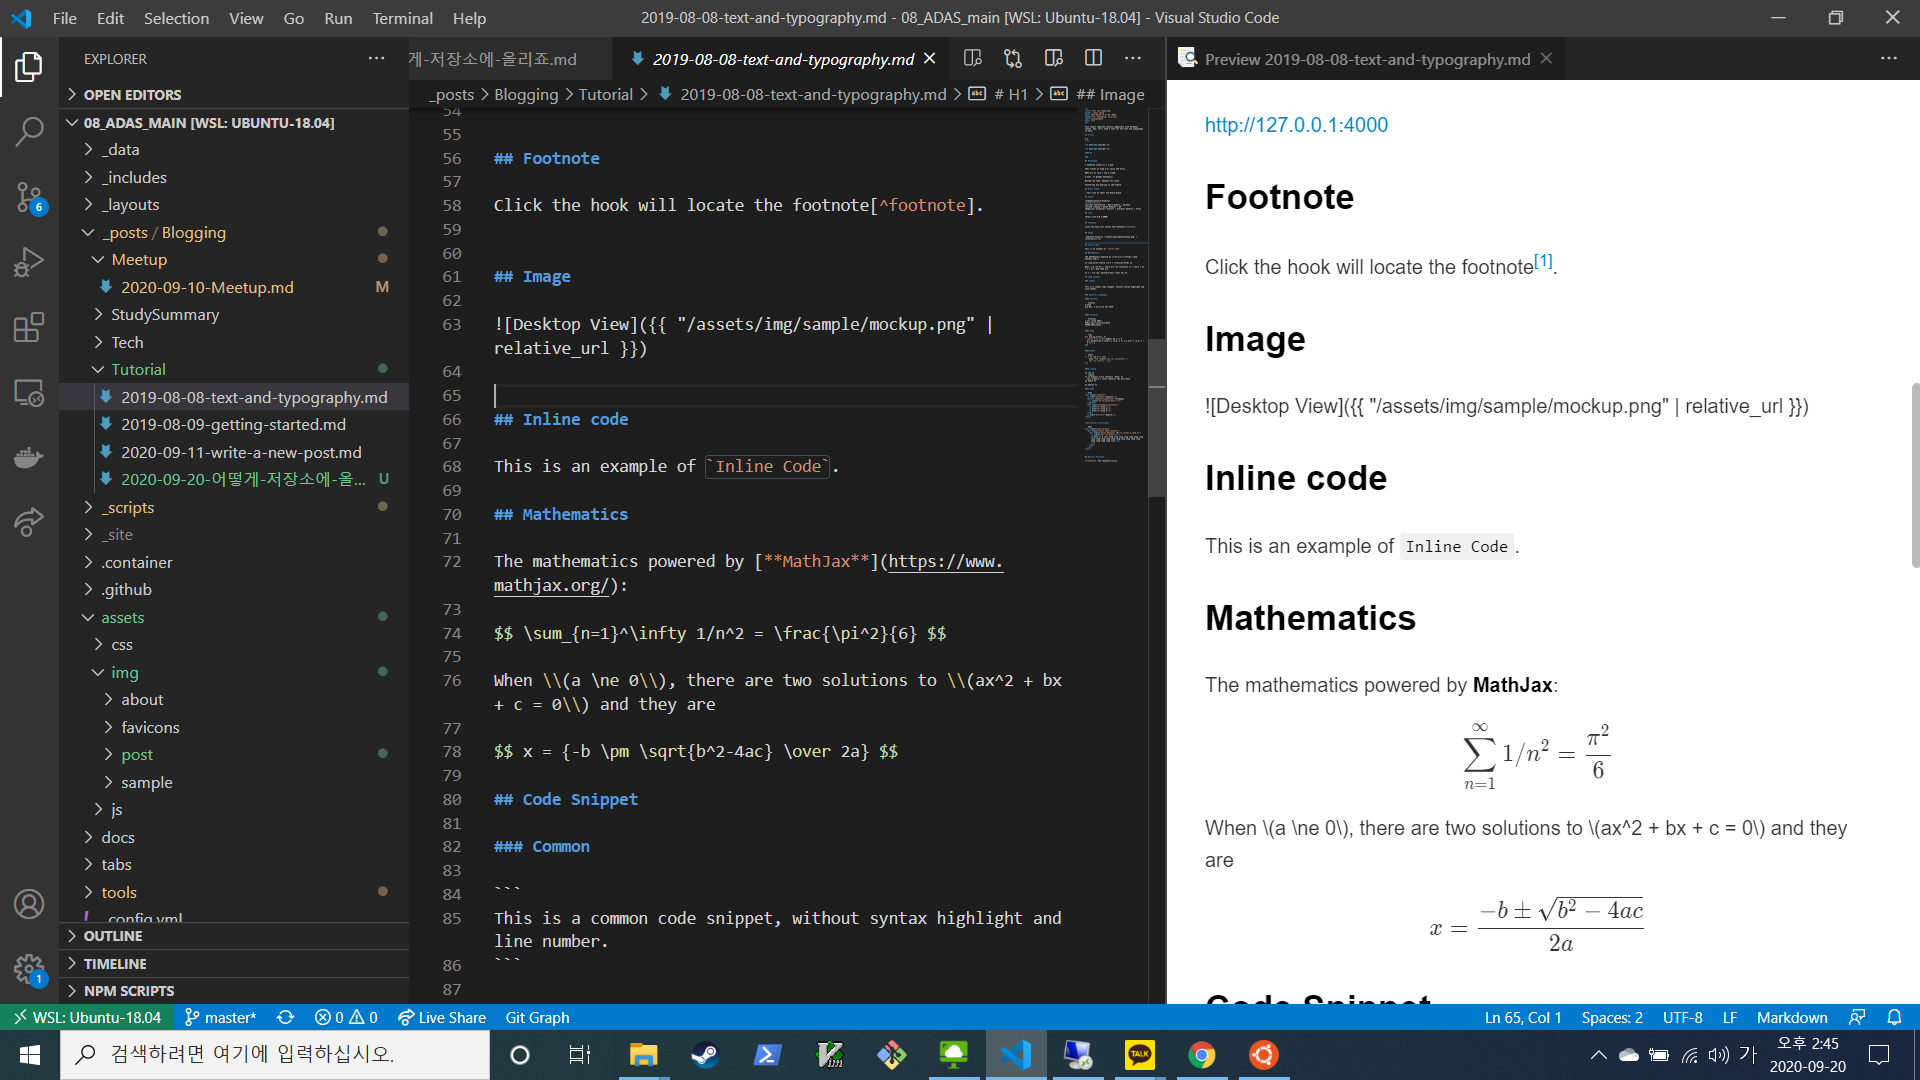
2. Work on your own copy and write your content
3. Build it locally
$ bash tools/build.sh
Configuration file: /home/jayleekr/00_Projects/08_ADAS_main/_config.yml
          Cleaner: Removing /home/jayleekr/00_Projects/08_ADAS_main/_site...
          Cleaner: Nothing to do for /home/jayleekr/00_Projects/08_ADAS_main/.jekyll-metadata.
          Cleaner: Nothing to do for /home/jayleekr/00_Projects/08_ADAS_main/.jekyll-cache.
          Cleaner: Nothing to do for .sass-cache.
$ cd /home/jayleekr/00_Projects/08_ADAS_main/.container
[INFO] Succeed! 5 category-pages created.
[INFO] Succeed! 6 tag-pages created.
4. Test it locally
$ bash tools/test.sh
Configuration file: /home/jayleekr/00_Projects/08_ADAS_main/_config.yml
Configuration file: /home/jayleekr/00_Projects/08_ADAS_main/_config.yml
            Source: /home/jayleekr/00_Projects/08_ADAS_main
       Destination: /home/jayleekr/00_Projects/08_ADAS_main/_site
 Incremental build: disabled. Enable with --incremental
      Generating...
                    done in 2.183 seconds.
 Auto-regeneration: enabled for '/home/jayleekr/00_Projects/08_ADAS_main'
    Server address: http://127.0.0.1:4000/
  Server running... press ctrl-c to stop.
5. Check how it looks
Open your browser and go to http://127.0.0.1:4000/ - make sure everything looks good!
6. Commit and push your changes
$ git add .
$ git commit -m "Add my awesome contribution"
$ git push origin main
7. Create a Pull Request
Go back to the original repository and create a pull request from your fork. Write a nice description of what you’ve added or changed!
The Long Version (For Those Who Want Details)
Hey there! So you found a cool open source project and want to contribute? Awesome! Here’s the step-by-step breakdown of how to actually do it without breaking anything (been there, done that 😅).
Why Fork Instead of Clone?
You might be wondering - why not just clone the repository directly? Well, unless you’re already a maintainer, you probably don’t have write access to the original repo. Forking creates your own copy that you can mess around with to your heart’s content.
The Sacred Build-Test-Commit Cycle
One thing I learned the hard way: always build and test locally before pushing. I can’t tell you how many times I’ve seen pull requests that break the build because someone forgot this step. Don’t be that person!
The build process does a few important things:
- Generates category and tag pages automatically
- Validates your markdown syntax
- Optimizes images and assets
- Makes sure all links work
Pro Tips from the Trenches
-
Write descriptive commit messages: “Fix stuff” is not helpful. “Fix broken link in Docker tutorial” is much better.
-
Keep your fork up to date: Before starting new work, always sync with the upstream repository:
$ git remote add upstream https://github.com/original-owner/repo-name.git $ git fetch upstream $ git merge upstream/main -
Test on different screen sizes: Your contribution should look good on both desktop and mobile.
-
Follow the project’s style: Look at existing content and try to match the tone and formatting.
Common Gotchas
- Image paths: Make sure your images are in the right directory and the paths are correct
- Front matter: Jekyll is picky about the YAML front matter at the top of posts
- Build dependencies: Make sure you have all the required gems installed
What Makes a Good Contribution?
The maintainers will love you if your contribution:
- Solves a real problem or adds genuine value
- Follows the existing conventions
- Includes proper documentation
- Doesn’t break anything
- Has been tested locally
Remember, open source is all about collaboration and making things better together. Don’t be afraid to start small - even fixing typos is a valuable contribution!
Happy contributing! 🚀